You do not need a finished model file to begin a terrain project. A clearly defined area and an organized set of source files are a useful starting point. The important question is whether the information describes the landscape you want to show, at a level suited to the model’s purpose and scale.
Define the boundary and the story first
Send a marked map or boundary file showing the area to include. Identify what the audience should understand: existing terrain, a proposed development, a historic river course or a course layout. List features that must remain recognizable, such as roads, buildings, ridges, water or property lines. Include the available display footprint and expected viewing distance.
A proposed grading plan and an existing elevation dataset may describe different versions of the same site. Tell the model maker which version should lead and which information is context. For a historical exhibit, name the period represented by each source rather than assuming that all files describe the same date.
Know what the elevation product represents
An elevation grid, contours and a survey are different ways of describing height. A digital surface model may include the tops of vegetation and buildings; a bare-earth terrain product describes the ground beneath them. The USGS 3D Elevation Program product guide explains the differences among its elevation products and the metadata supplied with them.
Choose the source around the subject. A model of the land needs a ground surface; architecture or vegetation may need to be added as separate information. Do not assume that every file labeled “DEM” has the same coverage, resolution or treatment of surface features. Send the accompanying documentation so those choices can be checked.
Keep units and coordinate information with the files
Include horizontal units, elevation units, coordinate reference information and the vertical datum when provided. Horizontal coordinates in one unit and elevations in another can create a distorted surface if the distinction is missed. Avoid renaming or exporting files in a way that separates them from their metadata.
If several datasets cover the area, identify where they came from and whether they share a reference system. Keep original files as well as any converted copies. An image that looks aligned on a screen does not establish that its coordinates and elevation reference match another source.
Separate resolution from accuracy
Grid spacing describes how closely elevation samples are arranged. Accuracy describes how well the measurements represent the ground; the two are related to the source but are not interchangeable. USGS provides product specifications and quality information because elevation products differ. A finer grid does not by itself justify a tighter accuracy claim.
The physical model also has a scale and fabrication limits. The source needs enough useful information for the features being represented, and the model maker needs to review how that information translates into a finished surface. Confirm the intended level of representation before using the model for measurement or making dimensional claims about it.
Supply imagery and plan information separately
Elevation defines relief; imagery supplies visible surface information. Send satellite, aerial or historical images with their dates and source details. Add relevant surveys, CAD plans, road information and building footprints. Confirm that the files may be used for the intended project.
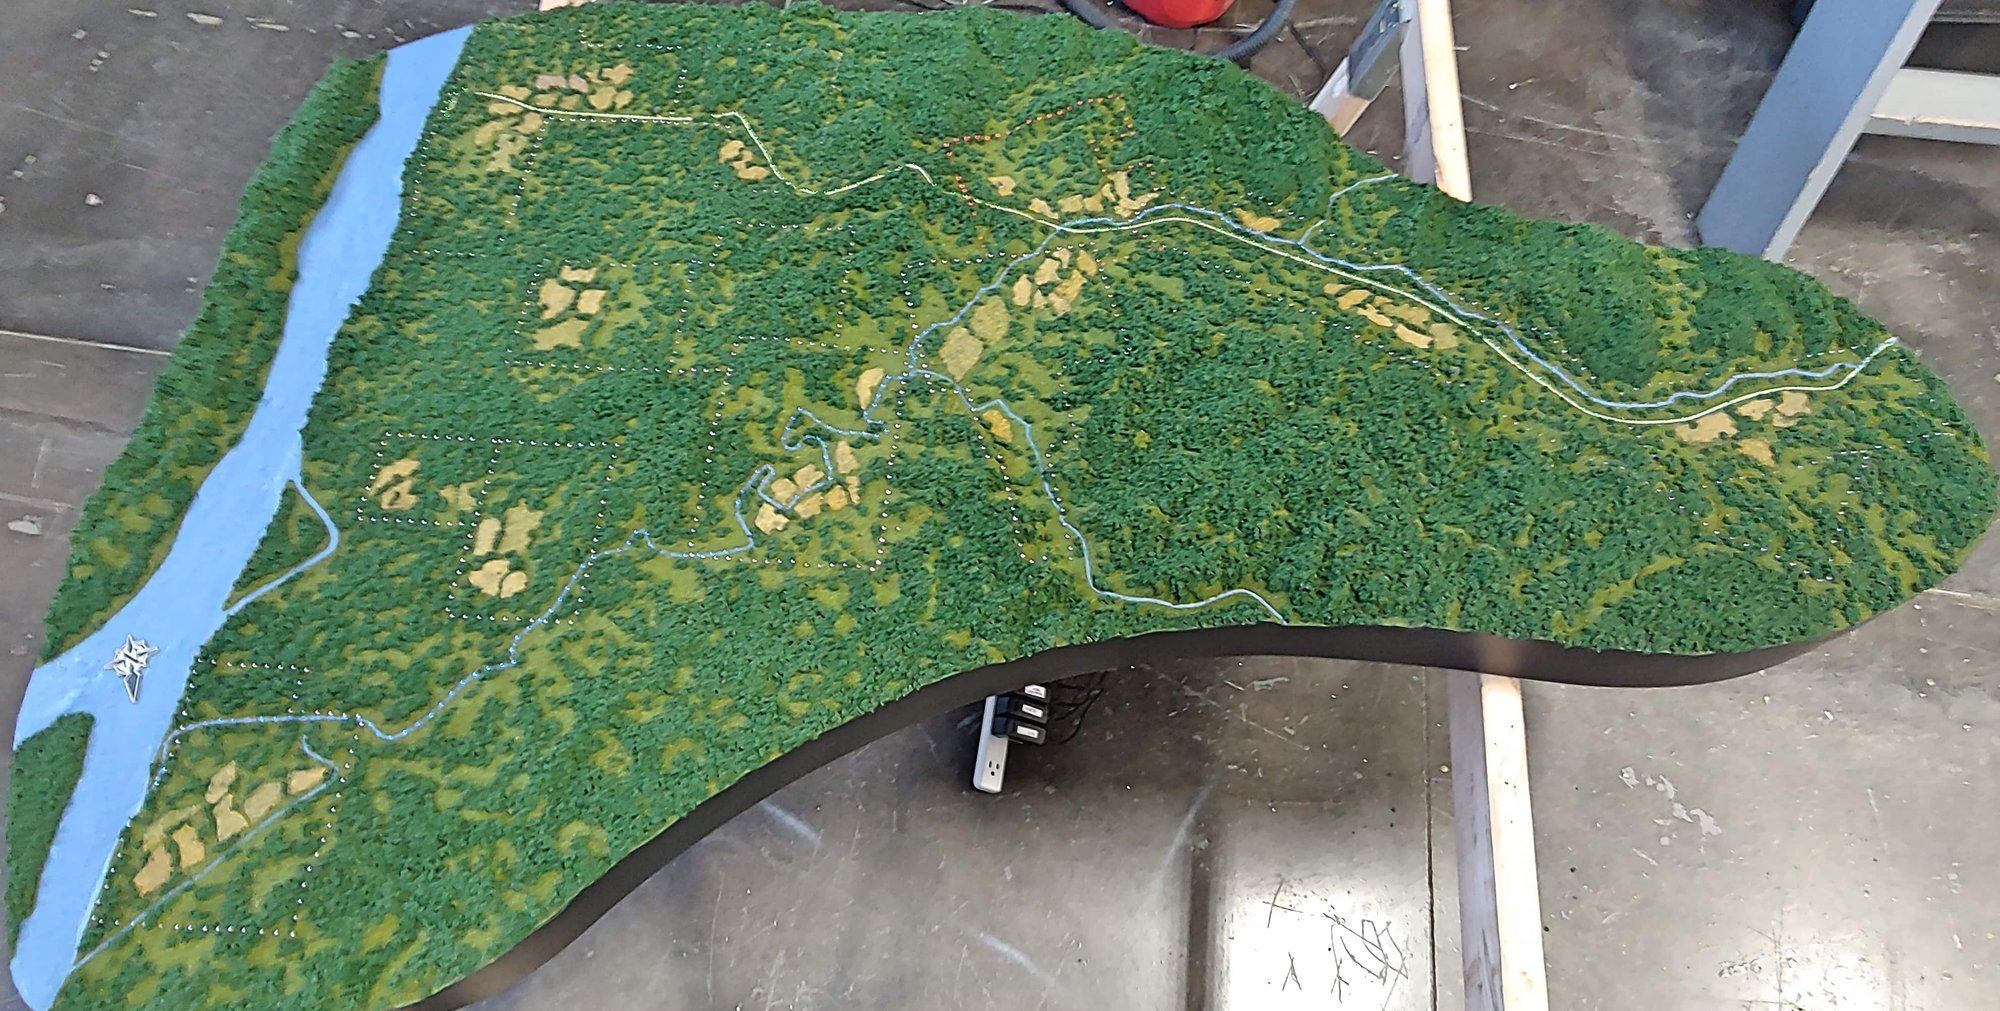
For the Mount Rainier museum model, elevation data was used for CNC-cut terrain and satellite imagery was laser-etched as a grayscale finish. The St. Charles historic landscape model combines elevation information with historical imagery and a historic river position. The different sources contribute different parts of the explanation.
A source package the shop can review
- A boundary map and a short statement of the model’s purpose.
- Original elevation or survey files, with metadata and source dates.
- Horizontal and vertical units, reference systems and datum information.
- Imagery, drawings and feature files, with their dates and intended use.
- A note identifying proposed changes, historic features or missing information.
- The display dimensions, priority details, deadline and transport needs.
If you only have a location and a brief, begin there. Archetype3D can help identify what is available and what needs review. Our terrain scale guide explains the next decision: how much of the landscape should fit on the model, and how its relief should read.